Written by Tanya — Yoga Alliance RYS 200 (ID 252157), trained at Devvrat Yoga School, Varkala, India (December 2025). Tanya teaches Hatha and Yin yoga at Your Ritual Yoga in Golders Green, NW11.
Yoga for tight hips is one of the most common things people come searching for — and it is one of the most straightforward places where a regular yoga practice delivers visible, felt results.
If you spend the majority of your working day seated — at a desk, in meetings, on trains — your hips are almost certainly tight. Not because there is something wrong with your body, but because the position your hips spend 8–10 hours in every day is precisely the position that shortens the hip flexors, under-activates the glutes, and compresses the outer hip. This is not a character flaw. It is anatomy responding to its environment.
The good news is that the hips respond well to consistent, patient attention. A 20-minute practice most days will do more than an occasional 90-minute class once a fortnight.
1. The Desk-Worker Hip Story
Anatomy of the Hip Flexor and Glute Medius
The hip is a ball-and-socket joint surrounded by some of the largest and most powerful muscles in the body. For our purposes, three groups are most relevant:
The hip flexors — primarily the iliopsoas (the psoas major and iliacus), but also the rectus femoris (part of the quadriceps) — run from the lumbar spine and pelvis to the top of the femur. Their job is to lift the leg towards the torso. When you sit, these muscles are in a shortened, contracted position for hours at a time. Over days, weeks, and years, the connective tissue adapts to this shortened length, and the muscles lose their resting length. The result: tight hip flexors that pull the lower back forward into an anterior tilt, contributing to lower back pain, poor posture, and reduced mobility.
The glutes — gluteus maximus, medius, and minimus — are the primary extensors and stabilisers of the hip. When we sit, the glutes are largely inactive. Over time, a pattern of “gluteal amnesia” can develop in which the glutes simply don’t fire as readily as they should, even during activities that require them. The lower back and hamstrings compensate — again, contributing to pain and reduced function.
The outer hip muscles — particularly the piriformis and the IT band (iliotibial band) — tighten with prolonged sitting and can contribute to lateral hip pain, knee discomfort, and the sensation of stiffness when standing from a chair.
The sequence below addresses all three areas.
2. The 20-Minute Sequence
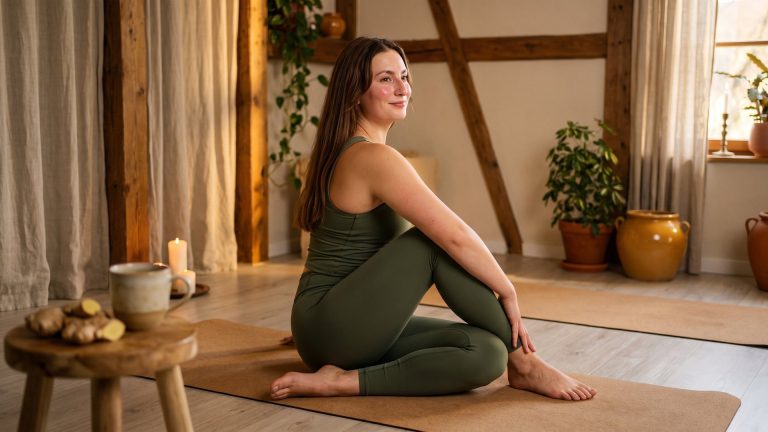
Pigeon, Lizard, Half Pigeon, Fire Log, Butterfly, Supine Figure-4
This sequence is designed to be held at a Yin pace — each pose held for 2–3 minutes — rather than moved through quickly. The hip structures that need releasing are connective tissue (fascia and ligaments), not muscle, and connective tissue requires longer, gentler loading to respond. Rushing through hip openers accomplishes less than sitting quietly in one pose long enough to feel it genuinely shift.
1. Low Lunge (Anjaneyasana) — 2 minutes each side
Step one foot forward between the hands. Lower the back knee to the floor (use a folded blanket under the knee if needed). Hips sink forward and down. Arms can rest on the front thigh or rise above the head. Breathe into the front of the back hip.
This is the primary hip-flexor opener in the sequence. The stretch is felt in the groin and front thigh of the back leg. Do not rush it.
2. Lizard Pose (Utthan Pristhasana) — 2 minutes each side
From low lunge, bring the front foot to the outside of the same-side hand. Both hands (or forearms if accessible) rest on the floor inside the front foot. The back leg stays extended.
Lizard goes deeper into the hip flexor and also begins to open the inner groin. Forearms on the floor increases the intensity; keeping the hands on the floor or on blocks reduces it.
3. Half Pigeon (Eka Pada Rajakapotasana) — 3 minutes each side
From a low lunge or downward dog, bring the front knee behind the same-side wrist, with the shin angled across the mat. The back leg extends straight. The torso can remain upright (more active) or fold forward over the front shin (more passive and restorative).
Half pigeon targets the outer hip and the external rotators — particularly the piriformis — more directly than any other posture. It is often intense, and the breath is the most useful tool for managing that intensity. Direct each inhale into the sensation; let each exhale soften around it.
If half pigeon creates knee discomfort, replace it with supine figure-4 (described below) — same muscles, fully supported.
4. Fire Log Pose (Agnistambhasana) — 2 minutes
Sit on the floor and stack the shins: one ankle resting on the opposite knee, the other ankle resting on the floor beneath the opposite knee. Flex both feet to protect the knees. Sit upright, or fold forward over the shins.
Fire log is a deep outer-hip opener. It may not be accessible at all to very tight hips — if the top knee is hovering far above the bottom ankle, place a block or folded blanket under the top knee for support.
5. Butterfly (Baddha Konasana) — 3 minutes
Sit with the soles of the feet together, knees falling wide. Hold the feet or ankles. The spine can be upright or the torso can fold forward — in Yin style, let the back round and the head drop towards the feet, surrendering rather than forcing length.
Butterfly targets the inner groins and the inner hip flexors. It is a more accessible pose for most bodies than fire log or pigeon, and it is a useful closing shape because it allows the hips to find a neutral position after more intense work.
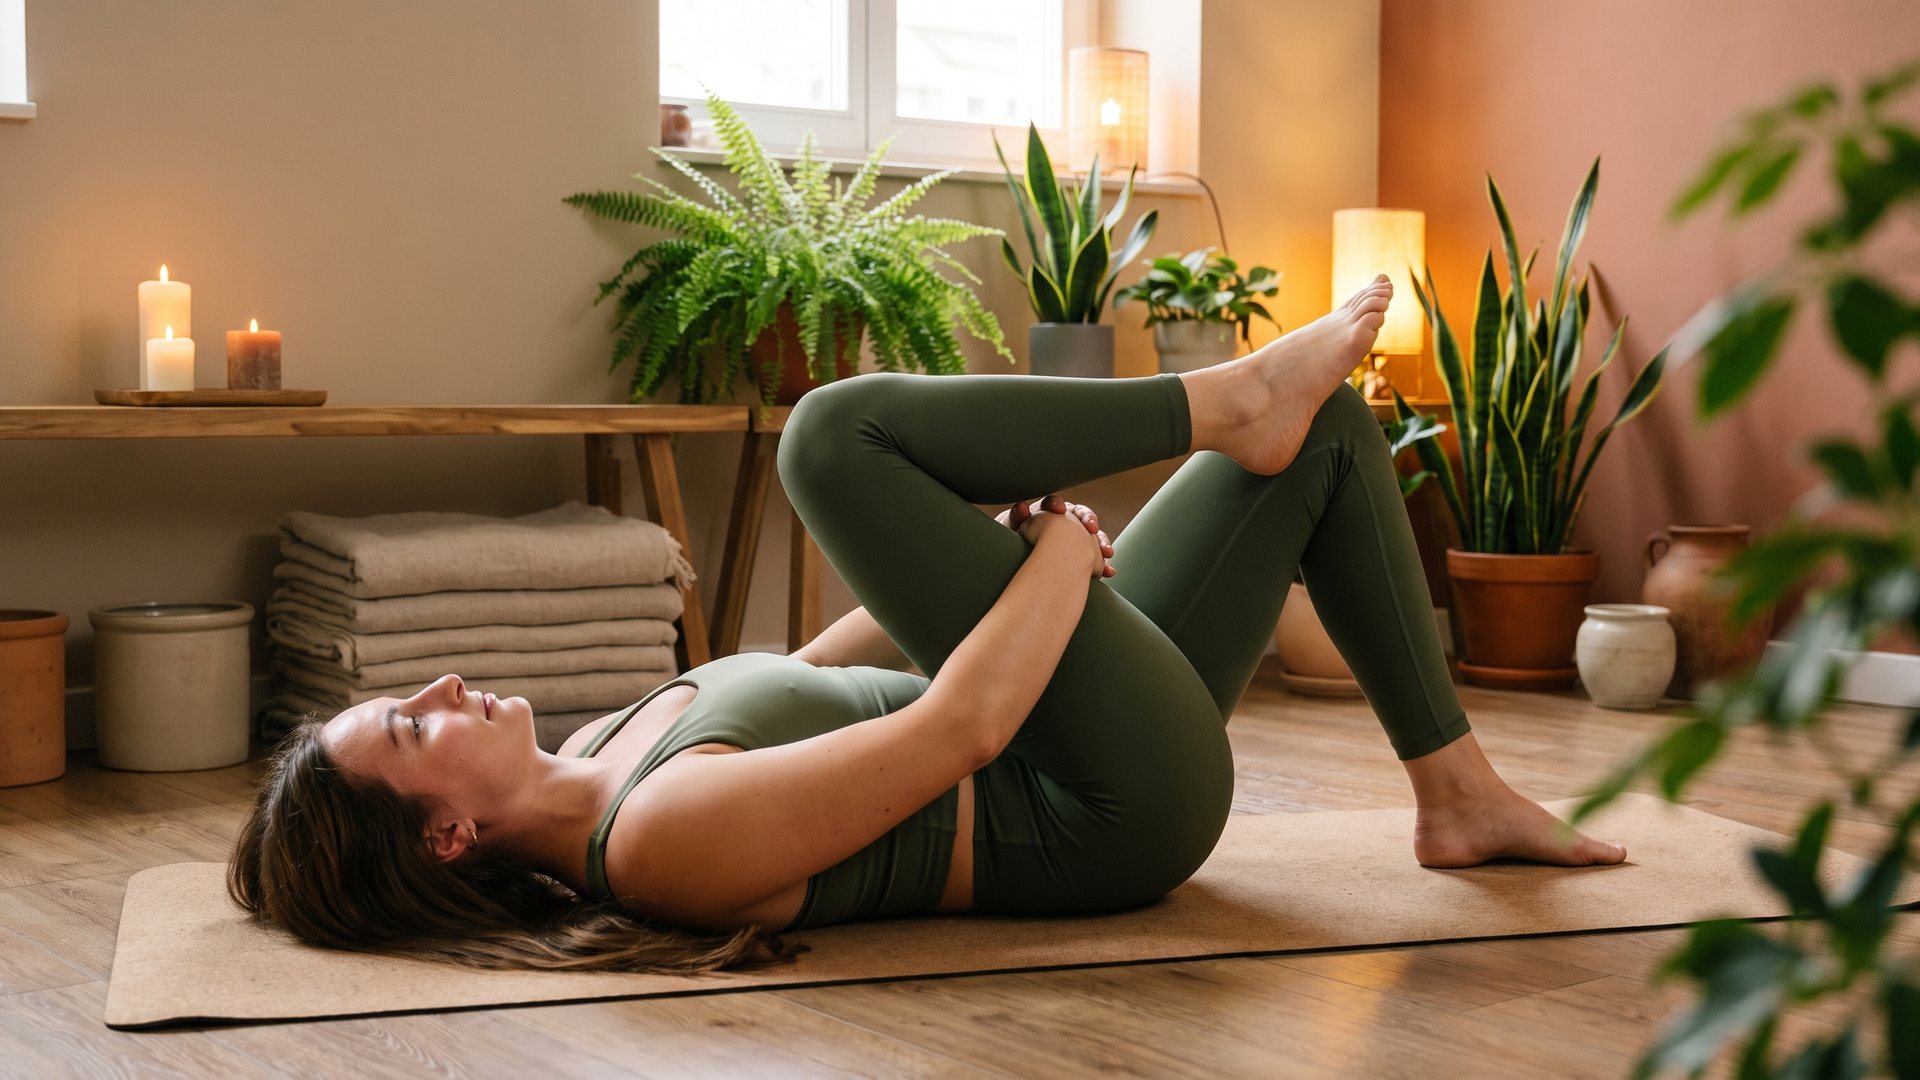
6. Supine Figure-4 (Supta Kapotasana) — 2 minutes each side
Lie on the back with knees bent. Cross one ankle over the opposite thigh, flexing the foot. Either stay here (less intense) or draw both legs towards the chest (more intense). The hands can hold the back of the thigh of the lower leg.
This is the most accessible version of the outer-hip release in the sequence — the entire body is supported, there is no weight on the hips or knees, and the intensity can be easily adjusted by moving the feet closer or further from the body.
Close: Savasana — 3–5 minutes
After the hip work, let the body rest completely. Legs extended, feet falling open, arms away from the body. Allow the hips to find their new, softer resting length.
3. Common Mistakes and Modifications
Why Static Stretching Alone Won’t Fix Sitting
Stretching the hip flexors once a day will not undo 8 hours of compression if the compression continues. The sequence above is most effective when combined with:
- Movement breaks during the working day — even 2 minutes of walking or standing per hour meaningfully interrupts the shortening process
- Strengthening the glutes — bridge pose (included in our Hatha classes), single-leg glute bridges, and clamshells re-activate the muscles that sitting switches off
- Attention to sitting posture — sitting slightly towards the front of the chair, feet flat on the floor, allowing the spine to find its natural curve rather than slumping
The most common mistake in hip-opening sequences is forcing. The hips respond to patience, not pressure. Aggressive hip-opening — pulling yourself deeper, holding the breath, pushing through sharp pain — does not accelerate progress. It often sets it back.
4. How Quickly Hips Actually Change
For a body that has spent years sitting for long hours, meaningful change in hip-flexor length takes time. With a consistent practice (this sequence or similar, 5–6 days per week), most people notice:
- Week 1–2: The sequence feels hard. Some poses may not be accessible.
- Week 3–4: The most obvious tightness begins to ease. Lizard and low lunge feel more manageable.
- Month 2–3: Pigeon and fire log become accessible or approach accessible. Daily life posture may begin to shift.
- Month 3–6: Structural change in the connective tissue. The hips hold more range of motion even at rest.
This is a long timeline. It is also an honest one.
5. Pairing This with Daily Habits
The sequence above is a standalone practice. It also pairs well with a weekly class that specifically addresses the hips — which is one of the reasons many desk workers find Yin yoga so useful. In a Yin class, the long holds do the same work as this sequence, in a guided, sequenced format, with a teacher who can adjust positioning and offer alternatives.
If you are new to this kind of hip work and would like guidance on whether you are in the right shape, how to modify for your specific tightness, or how to progress the sequence over time, a personal training session at Your Ritual Yoga is a good starting point. In one session, we can map your current range of motion and build a practice specifically for your body.
Join us for a weekly class that addresses hips directly — both our Yin Yoga sessions and our Hatha classes include dedicated hip-opening sequences. View the full schedule and book your place.
About the author
Tanya is a Yoga Alliance RYS 200 certified yoga teacher (ID 252157), trained at Devvrat Yoga School in Varkala, India (December 2025). She teaches Hatha and Yin yoga at Your Ritual Yoga in Golders Green, NW11 — a small, intentional studio where every class includes sound healing with Himalayan singing bowls and a post-class herbal tea ritual. www.ritual-yoga.co.uk