Written by Tanya — Yoga Alliance RYS 200 (ID 252157), trained at Devvrat Yoga School, Varkala, India (December 2025). Tanya teaches Hatha and Yin yoga at Your Ritual Yoga in Golders Green, NW11.
The warrior pose is one of the first things most people encounter in a yoga class, and one of the last things most people genuinely understand. The name is familiar. The shapes are recognisable. And yet, taught well, the three warrior poses — Virabhadrasana I, II, and III — are among the most demanding and most rewarding positions in the practice.
They build strength in the legs, open the hips and chest, challenge balance, and — when the breath is included — produce a quality of grounded presence that is genuinely different from ordinary standing. They are also rooted in one of the more extraordinary stories in Indian mythology.
1. The Story Behind the Name
The warriors are named for Virabhadra — a fierce, complex deity created by Shiva in a moment of grief and rage. The story goes like this.
Sati, Shiva’s beloved wife, attended a sacred fire ceremony hosted by her father Daksha. Daksha, who disapproved of Shiva, had deliberately excluded him from the invitation. When Sati arrived, Daksha publicly humiliated her — mocking Shiva as unfit and unworthy.
Unable to bear the dishonour brought upon her husband, Sati threw herself into the sacrificial fire. When Shiva learned of her death, his grief was immeasurable. From his matted locks, he created Virabhadra — a warrior of devastating power — and sent him to destroy Daksha’s ceremony.
Virabhadra arrived on the scene. The three warrior poses describe the three movements of this arrival:
Warrior I — Virabhadra rises from the earth, arms raised, facing his destination. The emergence of purpose from the ground.
Warrior II — he opens his gaze to the horizon, arms extending wide, assessing the scene. Presence, breadth, steady observation.
Warrior III — he reaches forward with a single pointed determination, body extending in one line. Precision, focus, flight.
The myth does not present Virabhadra as simply a destroyer. He is a figure created from grief — the embodiment of Shiva’s love turned outward in force. There is something worth sitting with in that. The warrior poses are not about aggression. They are about grief, love, and the focused power that can arise when we are moved deeply enough to act.
2. Warrior I: Alignment, Modifications, Common Mistakes
Hip alignment debates
Warrior I (Virabhadrasana I) asks you to face forward with both hips square to the front of the mat. This is where one of the most enduring debates in yoga alignment lives.
The classical instruction — rotate the back foot to approximately forty-five degrees, bend the front knee, square the hips to the front. The back hip is drawn forward; the front hip is drawn back. Both hip points face the short edge of the mat.
The anatomical reality — for many bodies, this degree of hip squaring is not available without either torquing the sacroiliac joint or lifting the back heel. The hip socket’s depth, the femoral version angle, and the individual flexibility of the hip rotators all affect how much forward rotation of the back hip is achievable.
The working resolution — allow the back heel to lift slightly if needed, or widen the stance. True hip squaring is less important than a stable, pain-free base. The lift of the arms and the lengthening of the torso are available regardless of perfect hip squaring.
Common mistakes:
Front knee collapsing inward — the front knee tracks over the second toe. If it collapses medially, press the outer edge of the front foot into the mat and engage the hip abductors.
Front knee travelling past the ankle — as the knee bends, ensure it stays directly above the ankle, not in front of it. If the stance is too short, step the front foot further forward.
Shoulders rising to the ears — as the arms lift, the shoulders frequently follow. Draw them down and back. The chest stays broad, the neck long.
Holding the breath — in any warrior, the breath is what sustains the pose. If you have forgotten to breathe, you are working harder than you need to.
Modifications: For knee sensitivity, do not bend as deeply. For lower back tension, a slightly shorter stance and less dramatic backbend in the arms will ease the lumbar. Warrior I with the arms in cactus (elbows bent, hands at shoulder height) is an accessible variation for tight shoulders.
3. Warrior II: Alignment, Modifications, Common Mistakes
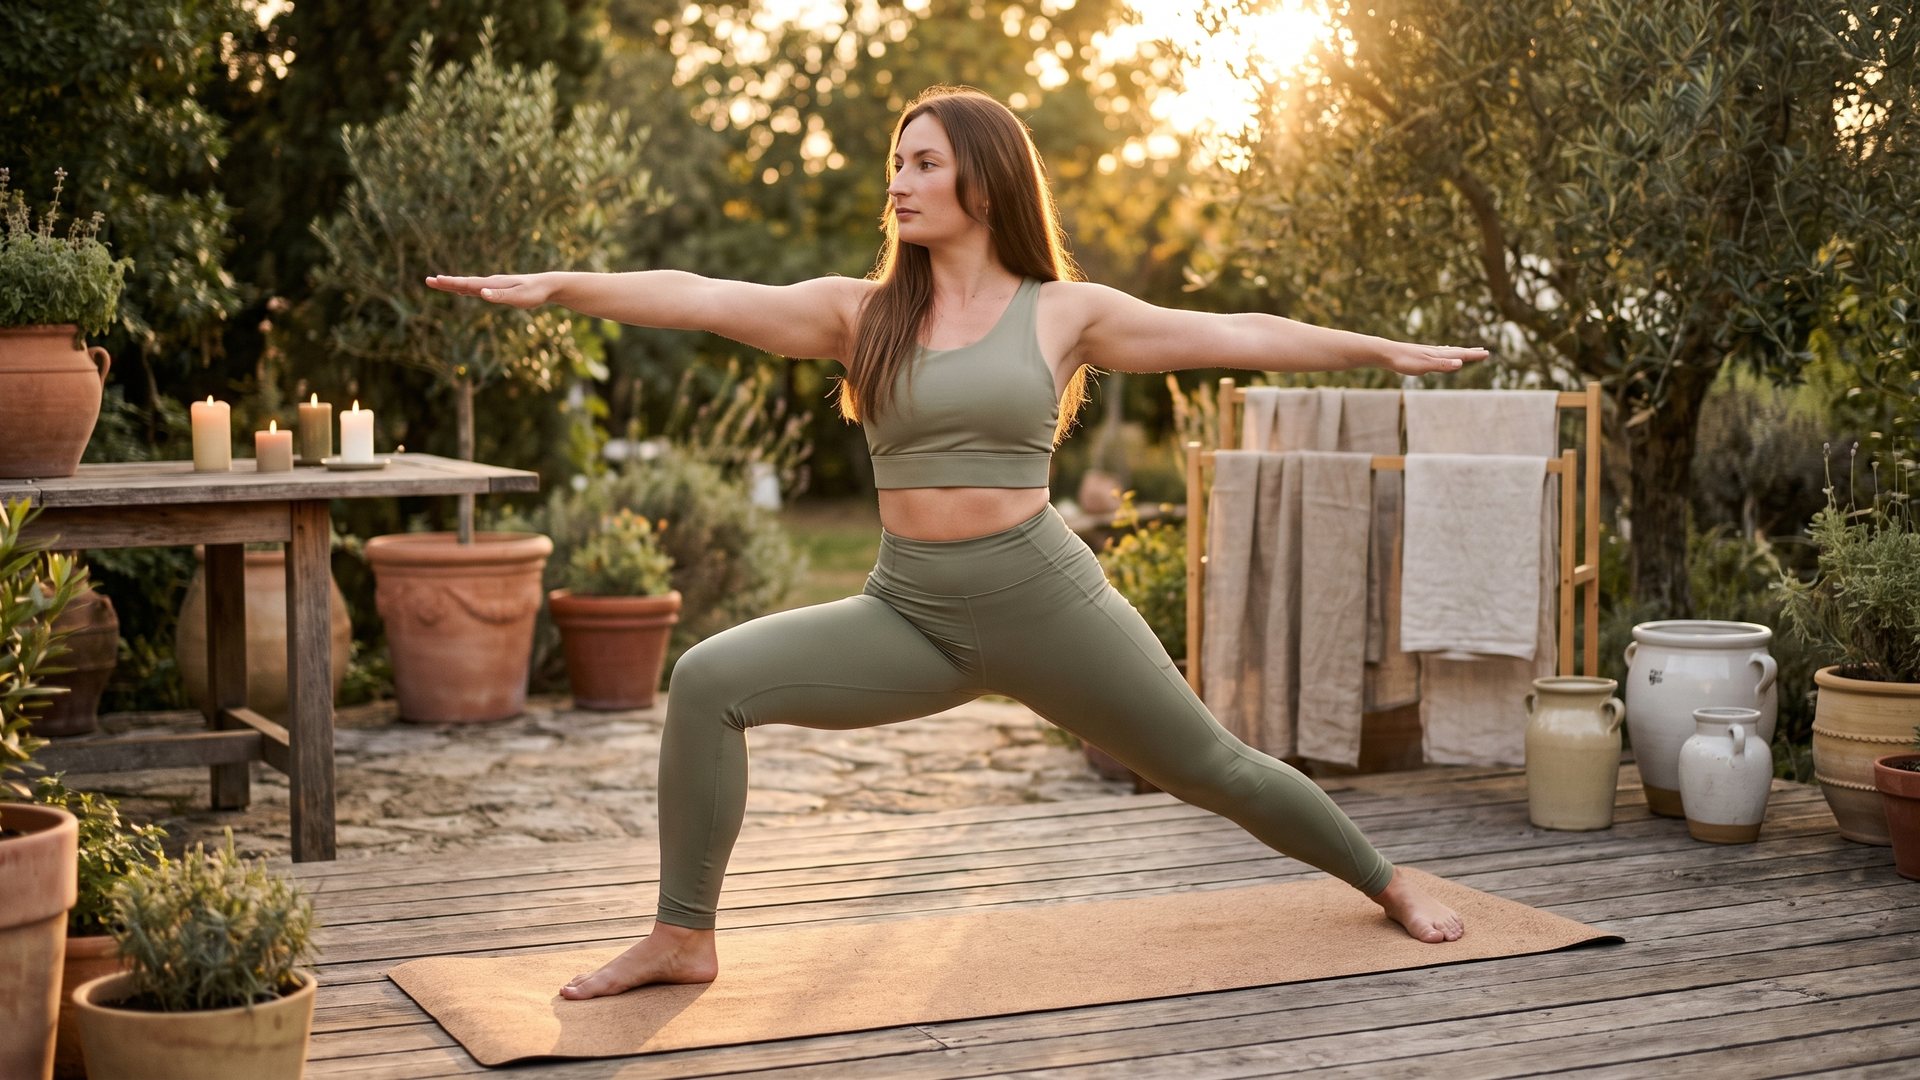
Warrior II (Virabhadrasana II) is in many ways the most teachable of the three warriors — and the most commonly performed with soft alignment that gradually erodes its benefits.
The front leg bends to ninety degrees (ideally; proportional to your stance). The back leg is straight and strong. The arms extend parallel to the floor — one forward, one back — with no effort wasted in lifting or dropping them. The gaze is calm over the front middle finger.
Knee tracking over ankle
The most common alignment problem in Warrior II is the front knee. As the pose is held, fatigue in the quadriceps causes the knee to drop inward. The kneecap begins to track medially rather than over the second toe, creating a torquing force through the medial collateral ligament and the inner knee structures.
The correction is the same as in Warrior I: press the outer edge of the front foot and the base of the big toe firmly into the mat, and think of the knee tracking outward over the second or third toe. In a well-aligned Warrior II, you should be able to see your big toe when you look down past the inside edge of your front knee.
The torso alignment — in Warrior II the torso is neutral: not leaning forward over the front leg, not collapsing back. Imagine the spine growing directly upward from the pelvis, with both sides of the waist equally long.
Common mistakes:
Front arm dropping — as the hold continues, the front arm drifts downward. Keep it parallel to the floor through deliberate engagement of the deltoid, not by gripping or tensing the whole shoulder.
Back foot rolling to the outer edge — the back foot’s arch should remain lifted. Press the inner edge of the back foot gently into the mat.
Leaning forward — the torso should be upright, not pitched over the front thigh.
Modifications: A shorter stance reduces the demand on the front quadriceps and knee. A chair placed under the front thigh (chair Warrior II) allows students with significant knee pain to access the pose safely. Arms can be modified to hands on hips for shoulder sensitivity.
4. Warrior III: Alignment, Modifications, Common Mistakes
Warrior III (Virabhadrasana III) is a balance pose as much as a strength pose. The body extends in a single horizontal line: one foot on the mat, the torso parallel to the floor, the arms reaching forward (or in various arm variations), and the lifted leg extended directly behind.
Front-leg fatigue: build progressively
The standing leg works harder in Warrior III than in any other warrior. The entire posterior chain — calf, hamstring, glute — of the standing leg is engaged, along with the core stabilisers. For beginners, this pose will feel immediately demanding.
Build it progressively:
Stage 1 — from standing, hinge forward at the hip and extend one leg behind you, keeping the back foot touching the floor for balance. This is the pre-cursor position. It trains the hip hinge and the posterior chain engagement without the full balance demand.
Stage 2 — lift the back foot one to two inches from the floor. Find steadiness here before asking for more height.
Stage 3 — extend the back leg fully, reaching the heel towards the back wall, and lengthen the arms forward. Hold for three to five breaths.
Common mistakes:
The lifted hip opening outward — the pelvis should be level, with both hip points facing the floor. The temptation is to open the lifted hip towards the ceiling, which shortens the waist on that side and compromises the line of the pose. Draw the lifted hip down to maintain a square pelvis.
Rounding the upper back — as the arms reach forward, the thoracic spine can round. Think of the chest opening towards the floor rather than the arms pulling forward.
Forgetting the arms — several arm variations exist for Warrior III: arms extended forward (highest challenge), arms in cactus (moderate), hands to heart centre (accessible and beautifully stable), arms along the sides (anatomically easiest). Choose the arm position that allows the legs and torso to do their best work.
Modifications: Warrior III with hands on a wall or chair at hip height removes the balance challenge and allows full concentration on the hip and torso alignment. This is an excellent preparatory practice for beginners.
5. How to Sequence Them
The three warriors flow naturally into each other, which is why they frequently appear together in Hatha and Vinyasa sequences. The classical flow from a standing position:
From Tadasana (mountain pose): Step back into a lunge — this becomes the foundation for Warrior I, with the arms raised. From Warrior I, open the arms wide, rotate the back foot flat, and pivot the torso to the long edge of the mat — this is Warrior II. From Warrior II, close the hands to the heart, shift weight forward, and extend the back leg — Warrior III.
This sequence creates a progression: arrival (Warrior I), breadth (Warrior II), focus (Warrior III). It tells the same story as the myth.
In a Hatha class, each position is held for three to five breaths before transitioning. In a faster Vinyasa flow, the transitions are quicker, but the alignment principles remain the same.
Returning to standing: from Warrior III, draw the lifted foot forward to Tadasana. Stand quietly for a breath before beginning on the second side.
Frequently Asked Questions
Why do my hips hurt in Warrior I?
Hip pain in Warrior I is usually a sign that the hip squaring is being forced beyond what the body’s anatomy allows. Allowing the back heel to lift, widening the stance, or reducing the degree of hip squaring will generally resolve this.
How long should I hold each warrior?
In a Hatha class, three to five breaths per side is standard. Five to ten breaths builds more strength and deeper access to the pose. Beginners often benefit from shorter holds that allow them to reset alignment, while more experienced students benefit from longer holds where the real work happens.
Is Warrior III suitable for beginners?
With the wall or chair modification, yes. Without support, Warrior III requires a degree of balance and leg strength that takes time to develop. Building through stages, as described above, is the appropriate approach.
What does ‘grounding’ mean in a warrior pose?
Grounding refers to the quality of connection between the feet and the floor — the active pressing of the feet, the engagement of the legs, and the resulting sense of stability and presence. A warrior pose practised with awareness of this connection feels very different from one where the feet are simply placed on the mat.
Can I practise warriors if I have knee problems?
Often yes, with modifications and shorter holds. Specifically avoid forcing the front knee past the ankle or allowing the knee to collapse inward, as these positions increase stress on the joint. Inform your teacher of any knee concerns before class so modifications can be offered from the outset.
Learn the warriors with expert instruction and genuine attention to alignment. Join a Hatha yoga class at Your Ritual Yoga in Golders Green, NW11 — small groups, all levels welcome.
About the author
Tanya is a Yoga Alliance RYS 200 certified yoga teacher (ID 252157), trained at Devvrat Yoga School in Varkala, India (December 2025). She teaches Hatha and Yin yoga at Your Ritual Yoga in Golders Green, NW11 — a small, intentional studio where every class includes sound healing with Himalayan singing bowls and a post-class herbal tea ritual. www.ritual-yoga.co.uk